Crimping: Solid Connections through Crimping and Pressing
How is the connector connected to the cable? In order for both components to fulfill their purpose, they must first be securely coupled together. While soldered connections used to be common, crimping has now become the connection method of choice. Whether automatically using automatic crimping machines or manually with a dedicated pair of pliers - the crimping alternative enables perfect contacting and high-quality results. We have taken a closer look at this topic for you.
Table of contents
- What does "crimping" mean?
- What can be crimped?
- How does crimping work?
- What crimping shapes are available?
- What is important when crimping?
- Which pliers and tools are required for crimping?
- Scissor and parallel principle
- Step-by-step instructions: How to crimp cables
- Efficient and fast - automatic crimping
- Flawless crimping - with quality tools from Bürklin Elektronik
What does “crimping” mean?
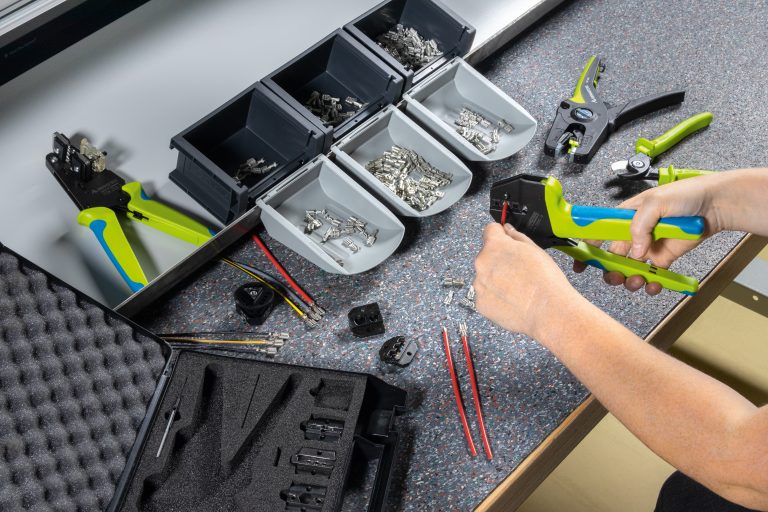
Crimping is a special joining process in which a contact is connected to a cable by means of plastic deformation. This is usually done between a wire or cable and a connection element such as a ferrule, a plug connector or a cable lug.
In contrast to soldered connections, this technique guarantees mechanical stability and corrosion resistance, and the connection result can be reproduced in large quantities. This form of cable assembly is also characterized by the optimum quality of the electrical transmission, which can last for long periods of time.
What can be crimped?
A wide range of connecting elements can be crimped in the field of electronics production. However, only flexible stranded cables are crimped, where several individual wires are used per conductor. The crimping process combines the strands into a conductor in a sheath and gives them the desired shape. Solid conductors do not require this process. Classic elements suitable for crimping are, for example:
- Wire end ferrules, which are used to protect individual wire ends
- Connectors, such as D-Sub or RJ45 plugs, for the production of cable connections
- Cable lugs for connecting wires to connection points
- Coaxial cable connectors for HF applications
- Flat connectors for quick and easy connections
How does crimping work?
The cable and the contact are deformed by crimping or pressing with a special crimping tool to create a high-quality connection. Inserted into a specially shaped metal sleeve or socket, the components are then joined together by applying pressure. Solder is not required.
What crimping shapes are available?
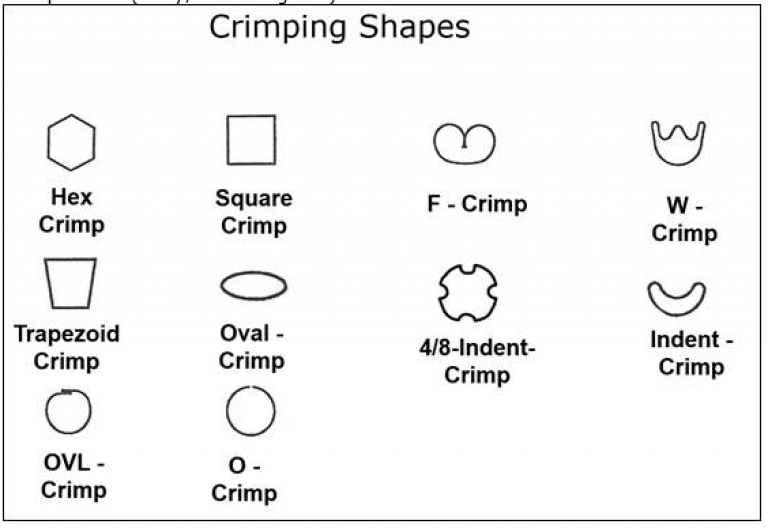
The crimp sleeve can be pressed into various shapes using the joining method. Different shapes are possible depending on the type of sleeve or the type of connector. The most common include mandrel crimp, square crimp and hexagonal crimp. However, special crimping shapes are also used for special applications. These are specifically tailored to the requirements of the respective application. Some examples of possible combinations:
- Wire end ferrules: Hexagonal, square & trapezoidal crimp
- non-insulated connectors: W-crimp, mandrel crimp
- Insulated connectors: Oval crimp
- Open connectors: F-/B-crimp
What is important when crimping?
If crimping is carried out incorrectly, errors can quickly creep in, resulting in unsuccessful or inferior crimped or crimped connections. This can be avoided by working carefully and properly. The following factors must be observed:
- Precise selection of crimping equipment: A suitable combination of tool, cable and terminal is of course essential. If the components are not correctly matched, the connection may be too loose or over-crimped. This also poses a safety risk, as overheating can occur.
- Precise cable preparation: The length of the exposed wires must exactly match the design of the crimping sleeve or connector, so excess lengths or ends that are too short must be avoided. Attention must also be paid to correct stripping without damaging the exposed strands.
- Accurate crimping: The connection process must be carried out in such a way that the wires are crimped directly next to each other with as little space between them as possible. This ensures “gas-tight” crimping and the contact resistance remains stable.
Which pliers and tools are required for crimping?
The use of special tools and accessories is essential for the production of high-quality crimp connections. Choosing the right tools ensures the quality and reliability of the connection as well as the efficiency and safety of the joining process. The most important tools summarized:
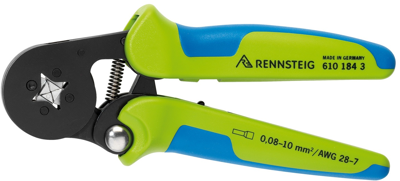
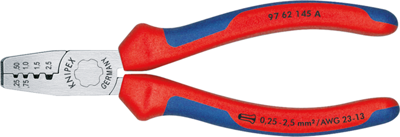
- A crimping plier is the main tool for the crimping process that is selected depending on the terminal and cable type. It enables the precise force transmission required to crimp the contact element correctly.
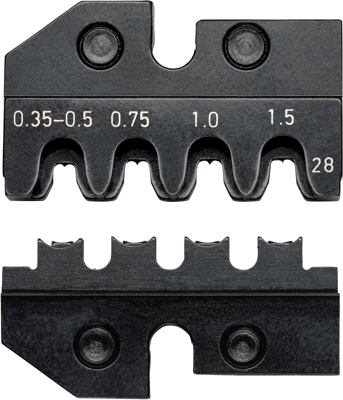
- Crimping inserts are available for crimping pliers with the option of interchangeable dies, allowing the pliers to be adapted to different sizes and shapes of crimp contacts. This flexibility allows a wide variety of crimp connections to be made.
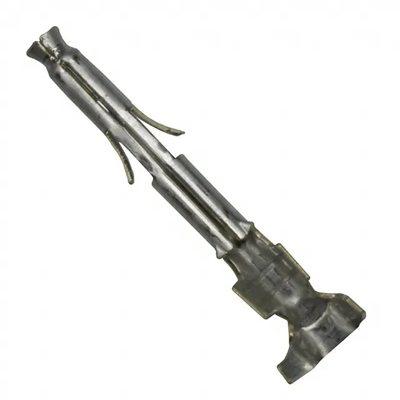
- Choosing the right crimp contacts is crucial as they ensure the electrical connection between the cable and the connection point. They must be carefully matched to the specific requirements of the connection.
- Wire strippers are used to remove the insulation from cables precisely and without damaging the conductors – a basic preparation for crimping.
Scissor and parallel principle
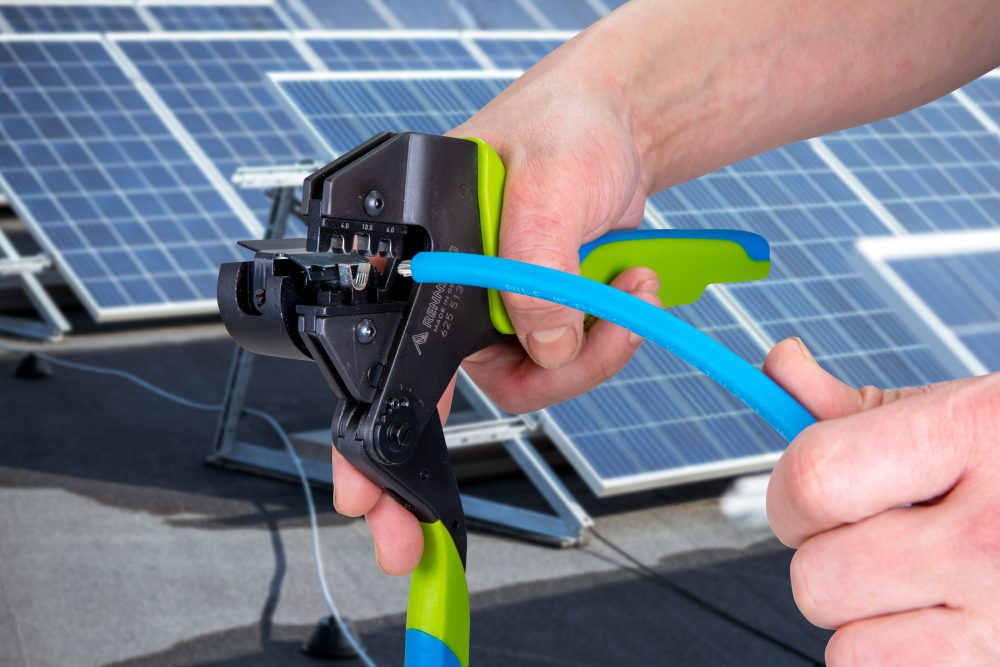
Crimping pliers are available in two different designs. Whether the choice falls on the scissor principle or the parallel principle depends on the specific requirements of the crimping task and the physical properties of the materials to be crimped. With the scissor principle, the crimping jaws move in a circular arc, whereas with the parallel principle they compress simultaneously and evenly, which ensures a more even distribution of force. The latter is particularly advantageous for thicker cables – e.g. in photovoltaics – or for sensitive connectors.

Step-by-step instructions: How to crimp cables
The crimping process is divided into precisely defined phases to ensure a solid and reliable electrical connection. We explain these steps using the example of crimping a cable:
- Conductor preparation: First, the cable is dimensioned to the required length. The cable is cut to size using cable shears. High-quality wire strippers are required to remove the insulation correctly without damaging the exposed copper strands.
- Connector selection: Select the right connector for the cable and the specific application! The compatibility of the connector with the cable cross-section is crucial to guarantee an optimum electrical and mechanical connection.
- Inserting the cable: The stripped cable end is now carefully inserted into the selected connector. It is important that the cable is positioned in the component up to the intended stop in order to achieve the best possible contact surface.
- Use: Place the cable with the connector in a crimping tool specified for the application! A locator (a positioning aid) helps to ensure that the connector is correctly aligned in the pliers. Check again whether the crimping die is suitable for the intended crimp contact of the component!
- Crimping process: Now apply controlled pressure to the connector with the pliers. This process causes plastic deformation of the crimp contact, which now firmly encloses the cable. Uniform pressure or crimping is essential in order to achieve a gas-tight connection without damaging the strands.
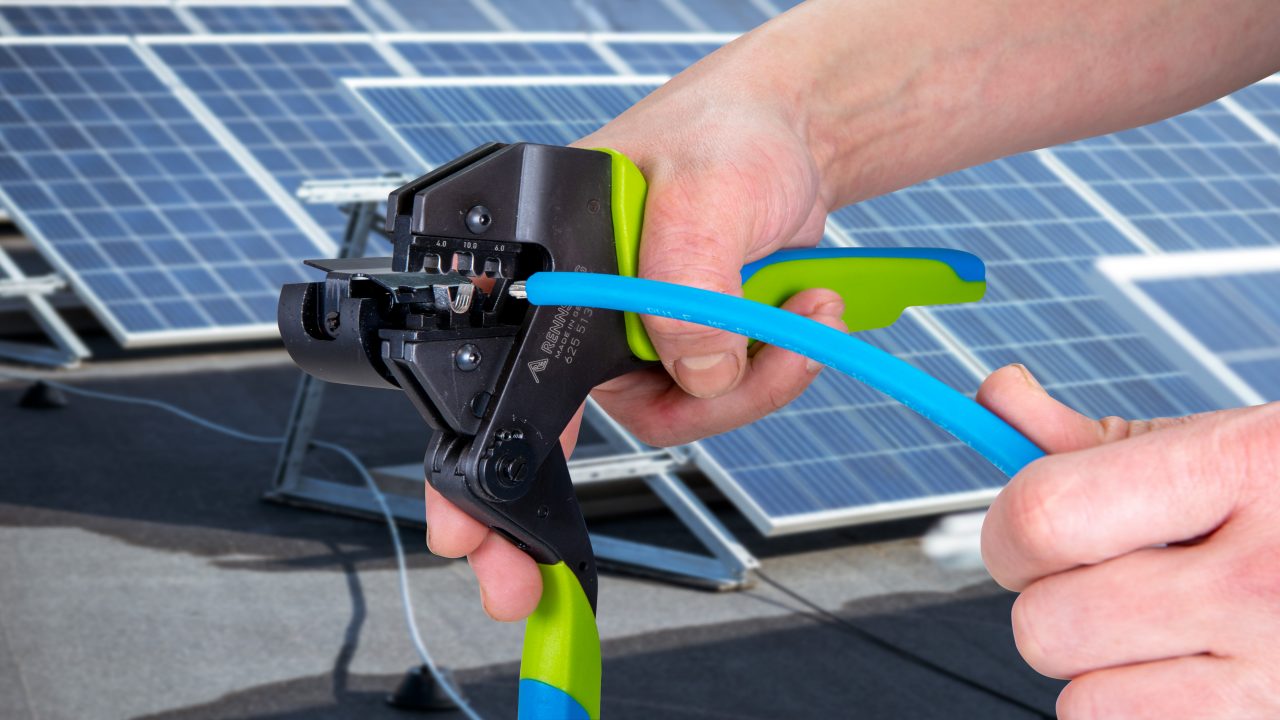
How to crimp solar cables correctly
PV cables generally have to withstand extreme weather conditions and high current flows. These demanding conditions of use require a particularly careful approach to crimping.
- Solar cables have very strong and thick insulation in order to remain functional in heat, cold and under the influence of other environmental factors. For the crimping process, this layer must be removed to expose the conductors contained in the cable – special precision stripping pliers are used for this purpose.
- It is also advisable to use connectors specifically designed for photovoltaic systems (e.g. MC4 connectors), which are characterized by their durability and reliability.
- The following also applies to crimping in photovoltaics: precise coordination of the crimping tools and components is crucial for optimum performance and durability. If the guidelines are disregarded, there is a risk of fire development or failure of the electrical connections.
Read our How to on Crimping solar cables to learn more.
Efficient and fast – automatic crimping
Automatic crimping is an advanced method of producing cable connections efficiently and precisely. This technique uses special fully automatic crimping machines that automate the entire crimping process. The most important aspects of automatic crimping are:
- Fully automatic machines offer a solution for high-speed cable processing. They enable cutting to length, stripping, crimping, twisting and tinning.
- Automatic crimping tools automatically adapt to different cross-sections and ensure a complete crimping process. Thanks to an emergency release function, you can also cancel a process manually at any time.
- Mobile automatic stripping and crimping machines make operation considerably easier and signal the operating status with colored LEDs.
The main focus with automatic crimping is that they can not only crimp, but also twist and label. They therefore reliably meet the quality requirements in wire processing.
Flawless crimping – with quality tools from Bürklin Elektronik
Have you got the basics down and are now ready to tackle your next crimping project? Equipped with the knowledge from this article in Bürklin Elektronik’s online magazine “Blickpunkt Elektronik Kompetenz”, you can get straight to work. In the online store you will find high-quality crimping pliers, crimping dies and crimp contacts from renowned manufacturers such as Rennsteig, Knipex and Stäubli – to suit your needs.
And as a Bürklin Elektronik customer, you also benefit from our competent and personal service: our team will be happy to advise you on specific topics and answer your questions.

