Wall-mounted Enclosures for Self-assembly: Flexible & robust Cabinet Solutions from EFB Elektronik
Wall-mounted enclosures for self-assembly are particularly suitable for individual requirements, combining flexibility and adaptability. Thanks to uncomplicated assembly, cabinet solutions can be implemented quickly and efficiently. The WGB cabinets from EFB Elektronik are easy to assemble and are an ideal solution for anyone looking for a flexible and robust cabinet solution. We take a close look at the solutions from EFB Elektronik and give you valuable tips for self-assembly.
Robust cabinet solutions from EFB Elektronik: WGB cabinets
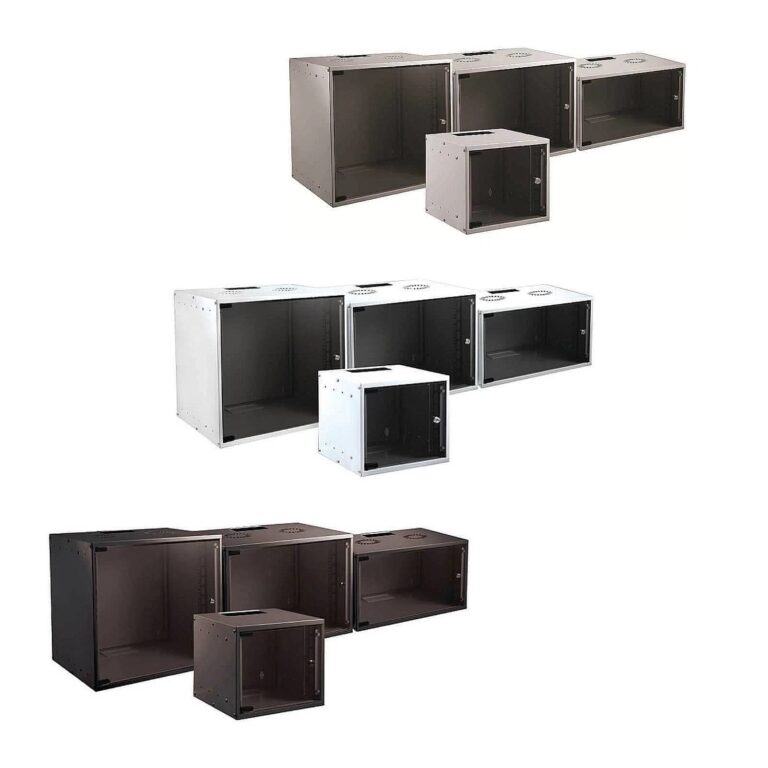
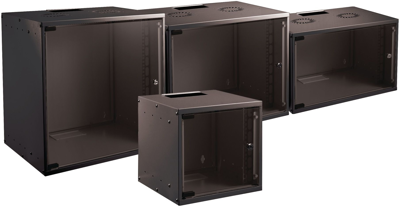
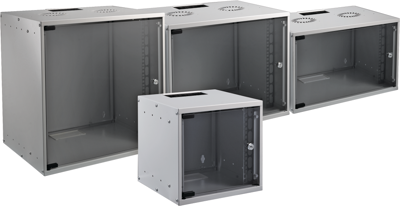
The wide range of variants of the wall-mounted enclosures from EFB Elektronik makes them suitable for a diverse range of applications. Depending on your requirements, you can choose between the following height units:
- 6 U: The external height is 306 mm.
- 9 U: The external height is 440 mm.
- 12 U: The external height is 572 mm.
- 15 U: The external height is 707mm.
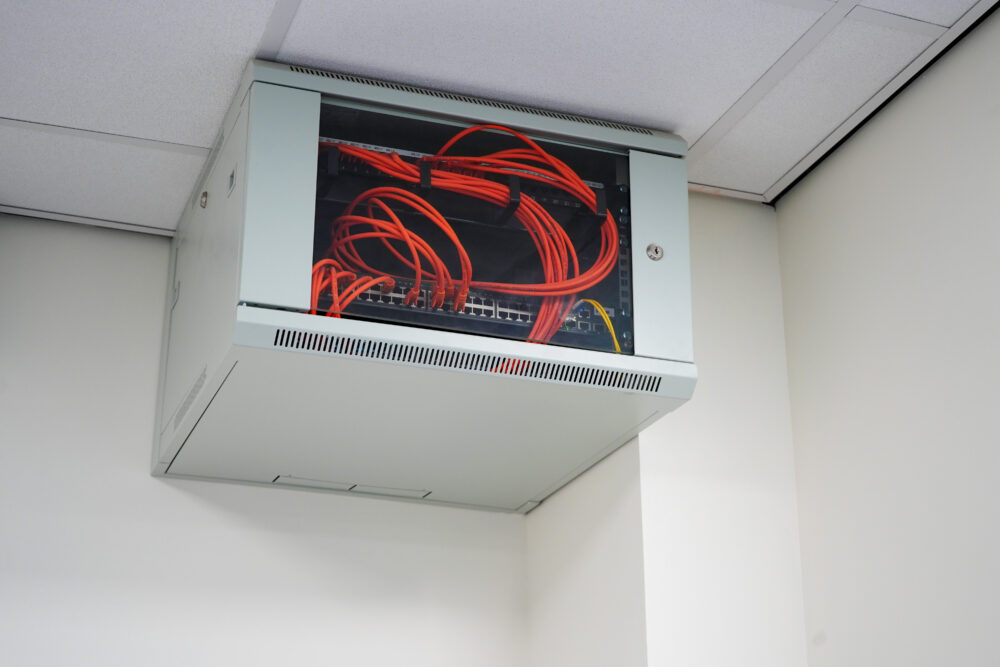
EFB Elektronik also offers two depth options: 450mm and 600mm. The WGB cabinets are available in three different colours to ensure flexible integration into a variety of environments. You can choose between light grey (RAL7035), deep black (RAL9005) and pure white (RAL9010). The cabinet has a width of 535 mm and meets the IP20 protection class. The maximum load capacity of 80 kg should be distributed evenly.


WGB cabinets with plug & play options
The cabinets are made of screwable sheet steel. The front door is made of 4mm thick, certified safety glass that is hardened, smoothed and antistatic. The door can be locked and has a door opening angle of 120°. The door hinge can easily be changed between right and left, making the placement of the wall-mounted enclosure particularly flexible.
Although the side panels are not removable, the cabinet solution offers options for cable entry. Both the roof and the floor are equipped with pre-cut openings for cable entry (145 x 70 mm). In addition, two individual fans, thermostats or a complete fan unit can be installed in the roof.
Inside the cabinet, there are two depth-adjustable 19‘ profile rails with a side opening for cable routing. An additional rear 19’ mounting level can be installed.


In 10 minutes to a wall-mounted enclosure: It’s that easy

The wall-mounted enclosures from EFB Elektronik are delivered flat-packed and disassembled in packaging with a sturdy handle. A brush strip and two keys are also included.
The cabinets can be assembled by one person in less than 10 minutes. We’ll show you how it’s done:
Step 1: Mark the mounting holes
Use the rear panel of the enclosure as a template and mark the mounting hole on the wall (4).
Step 2: Drill mounting holes
Drill the holes using the markings and insert wall plugs into the holes if necessary. You can then screw the rear panel of the enclosure to the wall.
Step 3: Prepare assembly
Place the base element (2) on a table or the floor for assembly.
Step 4: Mounting the side panels
Mount the side panels (3) on the base element (2) using 4 M5 x 10 screws each.
Important: Make sure that you insert the side panel with the shorter inner edge on the hinge side. Otherwise, the hinges will collide with the metal fold of the side panel when the door is closed.
Step 5: Attaching the hinges
Place the hinges (7) together with the rubber elements (8) on the glass (5). The rubber elements should be placed between the hinge and the glass. Before doing so, loosen the threaded pins of the hinges.
Step 6: Tightening the threaded pins
Now tighten the threaded pins. Be careful not to damage the glass.
Step 7: Inserting the lock
Now insert the lock (9) into the recess provided in the glass (5) and bring the latch into the correct position. Then carefully secure the lock with the locknut. Again, be careful not to damage the glass.
Step 8: Installing the glass door
Insert the rubber dampers (10) into the holes in the hinge of the side panel (3) on the lock side. Then mount the glass door to the frame.
Step 9: Mounting the roof
Now mount the roof element (1) to both side panels (3) using 4 M5 x 10 screws on each side. Then you can attach the brush (6) or the cover to the openings in the roof (1) or floor (2).
Step 10: Finish the enclosure
Finish the enclosure by sliding it over the rear panel (4) that has already been attached to the wall. Then secure the rear panel to the rear openings in the floor using the M5 x 10 screws. The assembly is now complete.
This might also interest you
-
Electrical Manufacturing
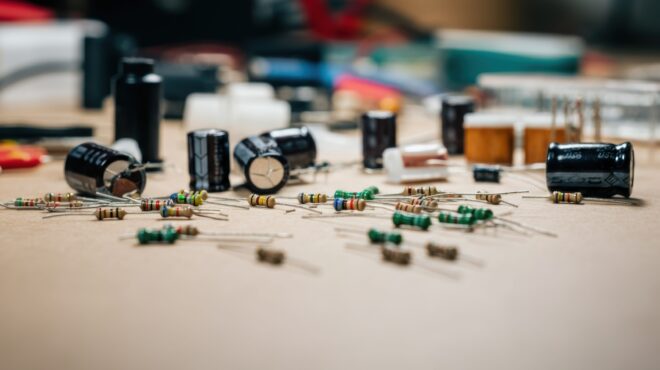
Resistor Color Code: How to Decipher the Color Rings on Resistors
Whether in prototyping, repairing electronic devices, or developing new circuits, resistors are essential in every circuit. They regulate current flow, protect components, and ensure stable signal behavior. But how do yo...
-

News
Sustainable and Reusable Cable Ties: Rethinking with HellermannTyton
Traditional cable ties are generally not reusable and are made from plastics derived from finite fossil resources. To reduce dependence on depleting resources, HellermannTyton is working to offer alternatives within its ...
-
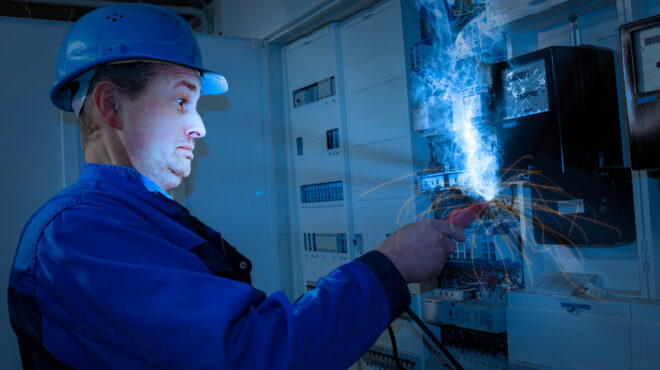
Maintenance
RCD: Application & Function
Reliable protection against leakage current: High-quality residual current devices (RCDs) make a real difference. But how do these safety-critical components work? And what should you consider when purchasing one? We hav...